One of the first things you probably learn when driving a car is that turning the steering wheel to the right makes the car turn right, and turning it to the left makes the car turn left.
However, what you probably do not know is how the steering wheel works.
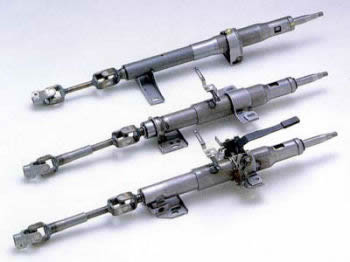
Nowadays, almost every SUV, small truck, and car around the globe has a rack and pinion steering system. This is the most popular type of steering system out there.
This system works by transforming the rotating movement of the pinion into a linear movement of the rack. The rack is the linear gear and the pinion is the circular gear.
This might appear complex. However, it is quite simple. Simply imagine this, the rack and pinion steering system is a round gear connected to a toothed bar.
However, even though it’s a simple mechanism, these systems aren’t resistant to damage. You’ll usually find the rack and pinion steering system under the hood. This means that it is regularly exposed to extreme heat.
Oftentimes, old cars suffer issues with the steering system. This is particularly true if it hasn’t been maintained by a professional regularly.
1 What is a Rack and Pinion?
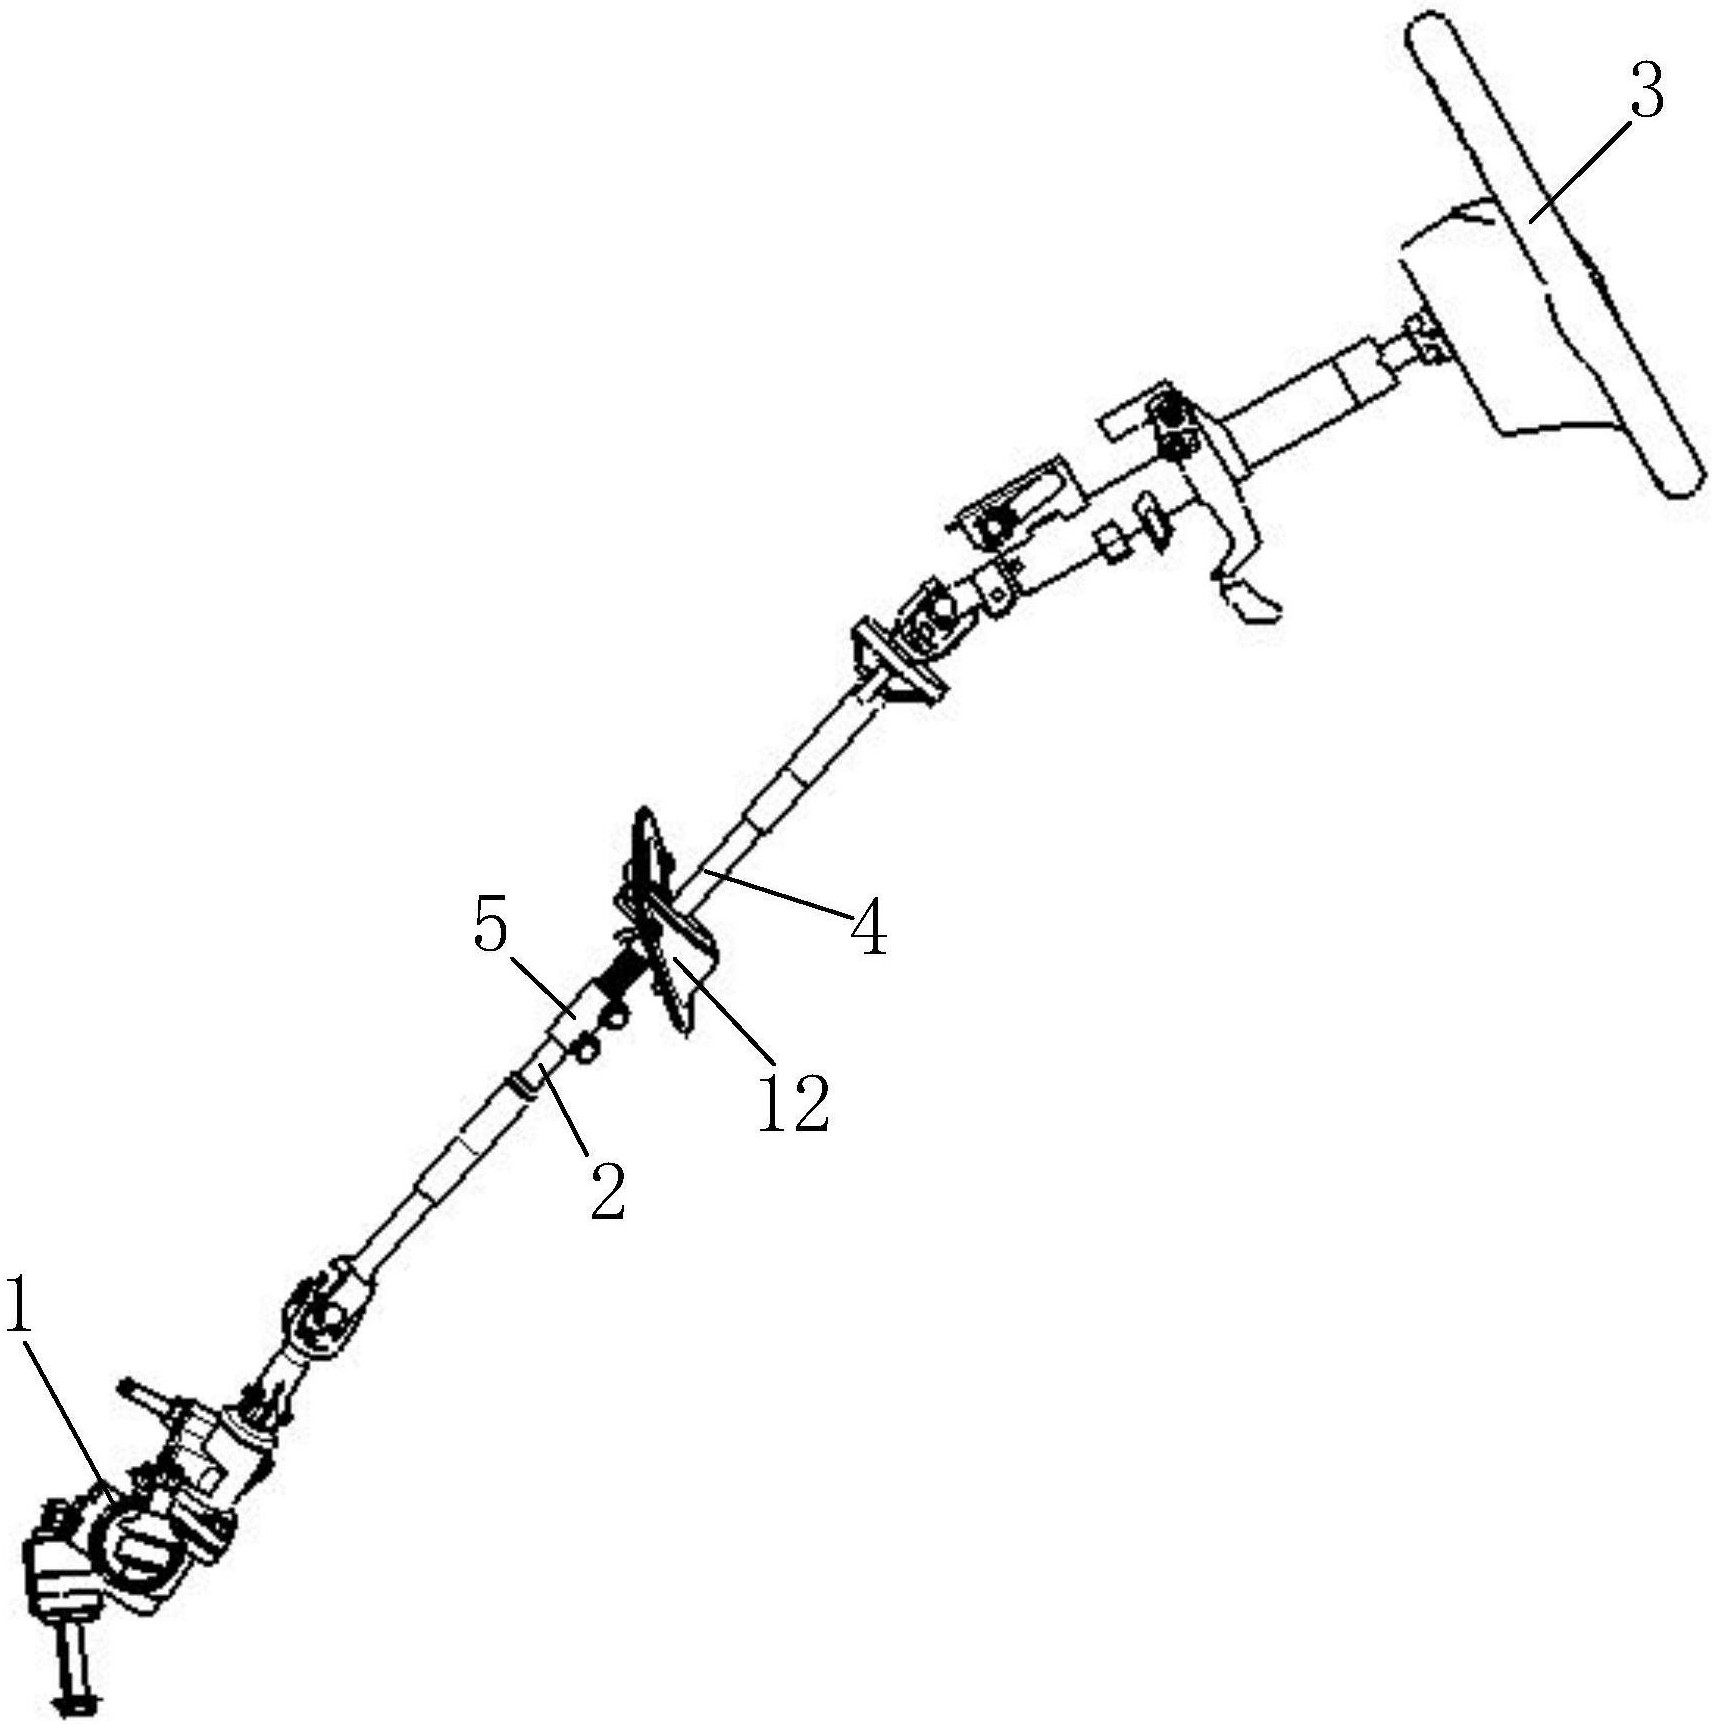
The rack and pinion steering system is a part of your car that allows the wheels to move from left to right as you turn the steering wheel.
As mentioned earlier, a rack is a round gear that connects to the pinion. The pinion is a long gear that is connected to a tube-shaped structure.
The steering column controls the rack. The steering column also conveys the movement of the steering wheel to the rack assembly.
Oftentimes, the whole rack and pinion assembly is known as a steering rack. Another system connected to this is the power steering. This system helps the steering rack to smoothly operate.
It’s normal to find a rack and pinion steering system in almost every car you see on the road. This includes small trucks, SUVs, and cars.
On the other hand, bigger vehicles depend on a different steering system that is more appropriate for heavier operations.

2 Why Do Power Steering Rack and Pinion Leaks?
Just like any pressurized parts in a vehicle, your rack and pinion steering system has a couple of seals.
The purpose of the steering rack seal is to guarantee that the system can maintain the flow of the pressure for the oil.
In addition to that, these seals also stop the oil from leaking. This means that if you’ve got a bad seal, the oil will gradually find its way outside your steering system. Thus, you’ll have a leak.
However, why do seals go bad? Well, as mentioned earlier, seals regularly keep pressure in. Irregular high pressure can result in the seals going bad.
In addition to that, seals will also crack and shrink due to severe weather conditions. Whenever this occurs, they will unseat themselves. This will lead to leaks.
Another thing that can cause leaks in your power steering rack and pinion system is contaminated and dirty oil.
Once the oil is contaminated with dust, water, or other particles, the seals in the system will deteriorate. They may even increase pressure. This often leads to damage to the entire system itself.
Furthermore, a damaged steering pump or a broken drive belt can also lead to damage to the rack and pinion seal.
In addition to that, a broken belt will completely deactivate your power steering pump because this component draws power from the engine using the belt.
Lastly, too much force can damage your rack and pinion, along with a lot of other parts of the power steering system.
This force might come in the form of driving on road bumps, rough roads, potholes, and more.

3 How To Tell If You Have Bad Seals?
Since it is simply not possible to drive a vehicle without steering, it is vital to be on the lookout for any issues so you can fix them right away.
So, how can you tell if you’ve got a bad steering rack seal? Well, as mentioned earlier, bad seals often result in leaks. Because of this, if you’re experiencing any signs of a leak, then you probably have a bad seal.
1) Pink or Red Fluid
For those who don’t know, your car contains various fluids of various colors. This includes power steering fluid, brake fluid, coolant, transmission fluid, and oil.
If you notice fluid leaking from your car, you might not be certain where it’s coming from.
Because of this, you simply have to take note of the color of the leak. Usually, if the leak comes from your power steering fluid, it should have a pink or red color.

2) Grinding Sound
This issue is also associated with some problems with the steering wheel. Every time you turn your wheel, you should not hear any type of grinding noise.
If you do, this is because the transmission isn’t getting enough lubrication. The sound is simply the result of metal parts rubbing with each other.
This usually happens if your fluid is leaking.

3) The Steering Wheel Doesn’t Return to the Center
It isn’t a surprise that a problem with the power steering fluid affects the performance of your steering wheel.
It’s a standard for almost every car in the world to have a steering wheel that returns to the center. However, if you’ve got a leak in your power steering system, it will not happen.

4 How To Do Rack and Pinion Seal Replacement?
The rack and pinion steering system is a vital part of your power steering system. Every seal around this system is accountable for preventing the power steering fluid from leaking outside.
If any seal starts to deteriorate, fluid can leak outside. If you don’t perform a seal replacement, you’ll regularly experience problems with your steering.
While replacing the rack and pinion seal can be a very tedious task, you can save a lot of money than you would if you replace the entire rack and pinion system.

Supplies and Tools Needed
- The brand new pinion valve seal
- Thin-nozzle baster
- Pry tools, hammer
- Snap-ring pliers
- Pliers
- Short length, chubby, robust, flat-head screwdriver
- Phillips screwdriver
- 12mm and 10mm sockets/close-end wrenches and a 6-inch extension
- Tape and marker for labeling
Step 0
Before you start the replacement process, make sure you check your replacement parts. The snap ring shouldn’t be out-of-shape. It should be flat.
On the other hand, your replacement seal should be hard. It should have a steel band and a steel coil on the bottom side.
Step 1
Put two pieces of cardboard under the front wheels of your car. This step will be extremely useful when you need to turn the steering wheel from left to right.
Make sure the steering wheel and the front wheels are centered.
Step 2
Make sure the steering wheel doesn’t move during the whole process. You can do this by bracing it. You can simply tie it.
Once this is done, disconnect the negative terminal on the battery.
Step 3
Put cardboard and a drain pan under the engine. Use a thin-nozzle baster to get rid of the power steering fluid.
When you remove the seal later, you’ll probably still leak fluid. However, you’ll be doing a lot less clean-up if you drain it first.
Step 4
There are a couple of things you need to get rid of under the hood. Getting rid of these components will help you gain access to the spot where the seal is.
First, remove the bottom of the air filter housing by moving the coolant reservoir. Once you remove the air filter housing, you can put the reservoir back in its place.
Next, label every electrical component and hose that connect to the air filter housing. Next, get rid of the whole air filter housing from bottom to top.
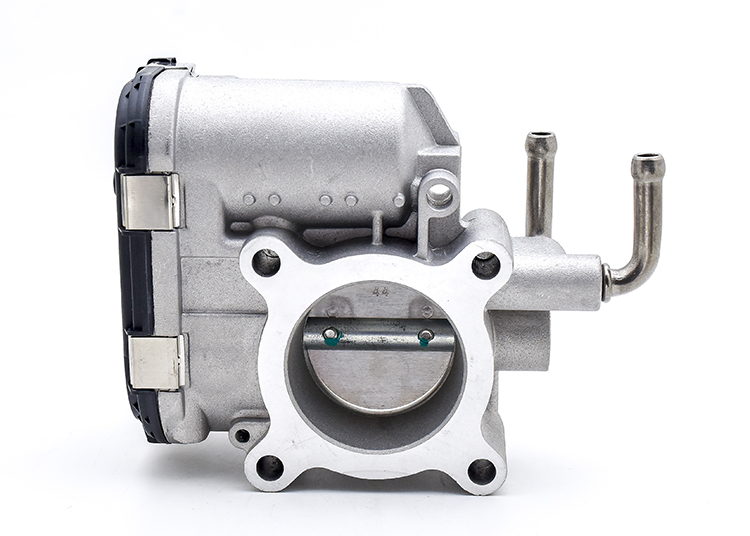
Keep in mind that there’s a hose on the side of the air filter housing that connects to the valve body, another hose on the back that connects to the charcoal canister, and an electrical connection on the side.
Make sure you label all of them.
Then, label every hose on the charcoal canister and its corresponding ports. Get rid of the charcoal canister and disconnect every hose. You don’t need any tool for this.
Release the fuse box from the two bolts that hold it in place. To ensure you don’t lose the bolts, make sure you install them back in the holes. Simply move the fuse box out of the way.
Step 5
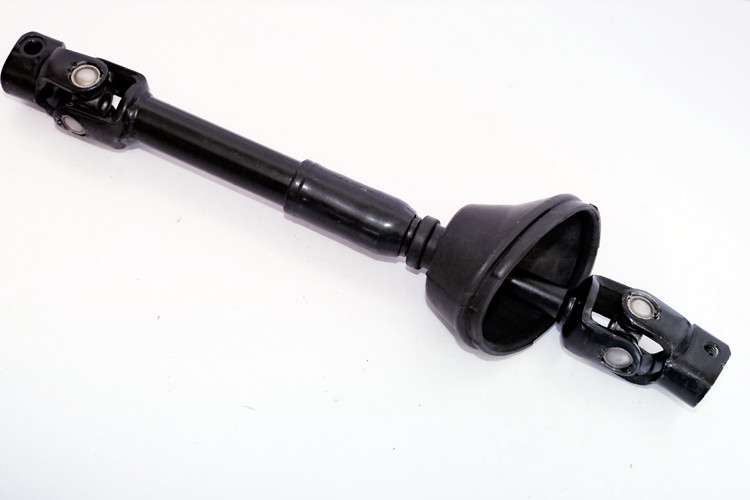
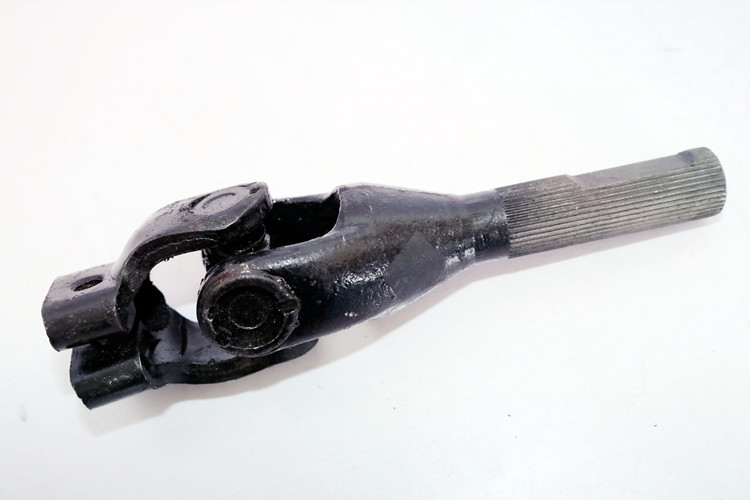
Once you’re done, you should see the intermediate shaft of your car. This shaft should have splines on the in-cab side and a u-joint on its engine-facing side.
You’ll notice the rack here as well. This means you’ll have access to the seal area.
Step 6
Get rid of the 12mm bolt that you find under the u-joint on the steering column assembly.
Step 7
Use a marker to create match marks in the engine bay. You need to mark the area where the intermediate shaft connects to the control valve assembly.
Make sure you don’t use the dust cover as a guide since you’ll be getting rid of it.
Step 8
Disconnect the intermediate shaft from the control valve assembly. You’ll need brute strength and patience for this.
All you’ve got to do is to move the shaft upwards towards the firewall.
You’ll notice on the cab side of the shaft that there’s enough space for the entire shaft to slide up. You’ll have to move it around 1.5 inches.
You’ll find this step extremely hard to do. However, it’s not impossible. If you’re struggling, try to spray the area with a bit of penetrating oil and allow it to sit for several minutes.
Next, using the strong, chubby, and short flat-head screwdriver, pry open the collar that was held previously by the 12mm bolt you removed earlier. Next, pull the shaft towards the firewall.
Unless you’re prying open the collar, you won’t move the shaft. Simply ensure you aren’t damaging the splines on the control valve section.
Step 9
After moving the shaft, it should slide up and over the top of the control valve shaft. Next, you can get rid of it from your vehicle. You can simply leave it out of your way or completely remove it.
Step 10
Get rid of the dust cover. To find the snap ring, you’ll have to clean up the seal area. Make sure you aren’t abusing the steel in this part. Use the snap-ring pliers to get rid of the snap ring.
Step 11
Prepare a couple of towels to gather fluid. You can put the towels on the components and frame under where the fluid will leak.
Step 12
Get rid of the seal. Oftentimes, this will be extremely difficult. However, the seal will eventually come out. You should expect to damage the seal before you can get rid of it.
Step 13
After removing the seal, you will notice the bearing. However, you don’t have to do anything about it.
The next step in the seal replacement process is to get your brand-new seal and coat it with a bit of clean fluid. Next, place the seal back in. To protect the new seal from damage, you can place the old seal over the new seal.
You can utilize whatever method you want to push the new seal into place without damaging any components. This is particularly true for the splines and housing.
You’ll know if the seal is installed properly if it isn’t moving anymore and if it’s under the guide feature that the snap ring fits into.
Step 14
Ensure that the seal is snug and tight. Next, you’ll have to install a new snap ring. Make sure you do not reuse the old snap ring.
The sharp side of the snap ring should face upwards. You will easily notice the snap ring is in the grove when you can track the entire ring around the perimeter.
Step 15
Install the new dust cover
Step 16
Install back the intermediate shaft. You should start on the in-cab side. Slide the shaft upwards underneath the steering wheel. Ensure the splines of the shaft align with the receiving splines.
You shouldn’t have a hard time doing this since there’s only one way to fit the shaft. After placing the shaft in, have someone hold it. If you don’t have any helper, you can simply tie it off.
Step 17
Next, align the receiving splines back into the control valve on the engine side of the intermediate shaft. You can utilize the match-marks you did earlier.
Again, you’ll have to use your flat-head screwdriver to pry open the collar while sliding the shaft in place.
Once you’re done, examine if the steering wheel is straight. If it isn’t straight, take off the shaft on the engine side and move it around 1-2 splines until the steering wheel is straight.
Step 18
After you install the shaft back to its proper place, fasten the two 12mm bolts on both ends of the intermediate shaft.
Usually, you’ll need a Torque of around 26 ft-lb on both sides.
Step 19
Simply reverse the order of what you did earlier when installing everything. This includes connecting the battery, removing the brace of your steering wheel, and much more.
Then, you need to prepare for bleeding the system. This part is crucial to help get rid of any unnecessary air inside the system.
Step 20
When bleeding the system, the first step is to pour the power steering fluid into the power steering reservoir. Make sure you fill it up to the max line.
Then, go back inside your car. However, you should not turn the engine on. Simply turn the key to “ON”. This will enable you to move the steering wheel freely.
Once you turn the key to “ON” and the engine is still OFF, turn the wheel all the way to the left and to the right. several times. This is known as moving the steering wheel from full lock to full lock.
Next, examine the level inside the power steering fluid reservoir. You’ll notice that it is now lower than the max line.
If that’s the case, you need to add more power steering fluid and fill it back up to the max line. Then, go to your steering wheel again and move it from full lock to full lock.
You have to repeat this process until you don’t notice the fluid level going down.
Step 21
Before you start your vehicle, make sure the engine bay of your car doesn’t have any tools left. Once you have all of your tools, you can safely start your vehicle.
If you hear a bit of noise coming from the right, it means that there’s still a bit of air inside the system. If so, make sure you turn the engine off, open the reservoir, and repeat the bleeding process.
Again, as soon as you notice that the fluid level in the reservoir isn’t decreasing, you’re good to go.
Step 22
This is the final step. Make sure you test drive your car by doing a lot of left and right turning. Then, double-check the seal under your car to see if it isn’t leaking anymore.
The Previous Articles:
What Is Rack and Pinion Bushing? How To Tell If Rack and Pinion Bushings Are Bad?
Why Steering Rack Makes Noise When Turning?
How To Rebuild A Steering Rack?
What Is A Rotary Valve Power Steering Rack?
Rack And Pinion System Vs Power Steering System: What Are The Differences?
Power Steering Rack Market Analysis Report (Japan Market)
What Causes Steering Rack to Go Bad?
Design Of Car Rack And Pinion Steering Racks
What Is The Intelligent Steering Rack Used By VW, Toyota, Honda And Renault?
Leave A Comment